Ethernet Settings
Step 1: Change Adapter Settings
Open Network Connections
Press Win + R, type
ncpa.cpl, and click OK.
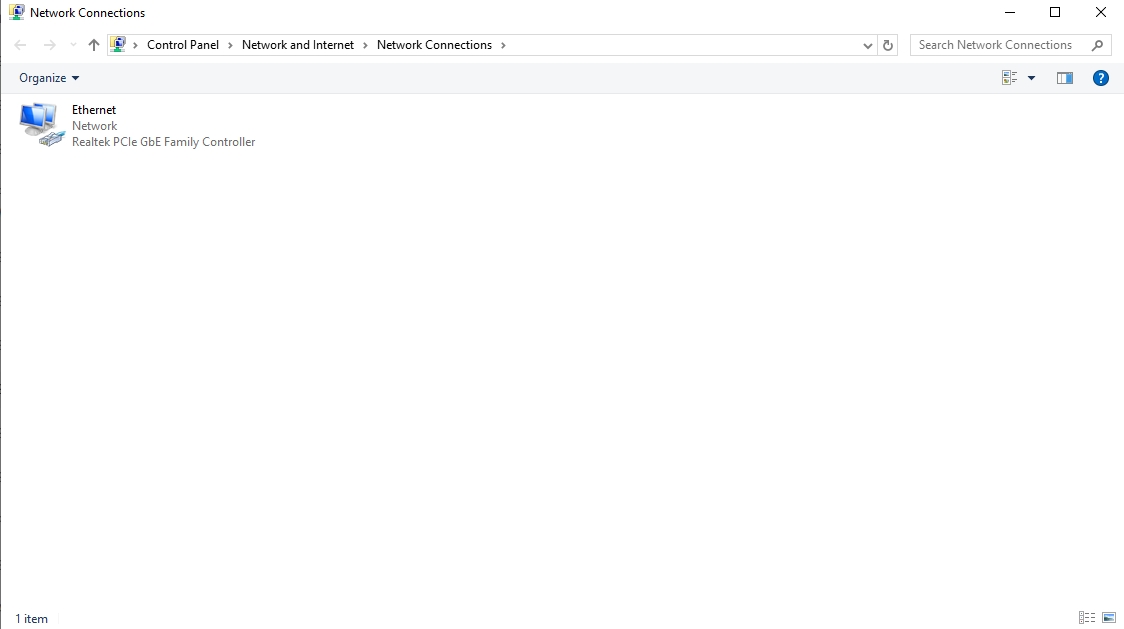
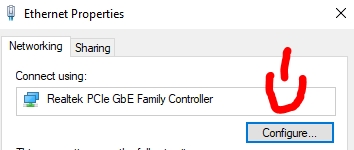
Modify Ethernet Properties
Right-click your Ethernet connection and select Properties.
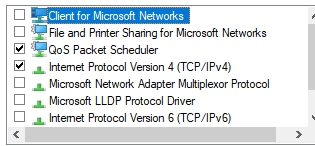 YOU ONLY NEED THESE 2 TICKED THEN HIT OK
Ensure the Correct Options Are Selected
In the Ethernet Properties, make sure only the two required options are selected.
Once confirmed, click Configure to access the advanced settings.
Apply the following changes:
Advanced Tab Settings
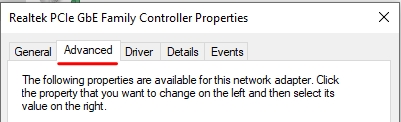
Advanced EEE: Disabled
ARP Offload: Disabled
Flow Control: Disabled
IPv4 Checksum Offload: Disabled
Large Send Offload v2 (IPv6): Disabled
Network Address: Not Present
TCP Checksum Offload (IPv6): Disabled
UDP Checksum Offload (IPv6): Disabled
If a setting is unavailable, skip it.
Restart Your PC
Step 2: Flush and Reset Network Settings
Open Command Prompt (Admin)
Press Win + X, select Command Prompt (Admin) or Windows Terminal (Admin).
Enter Commands (30-Second Delay Between Each)
ipconfig /flushdnsipconfig /registerdnsipconfig /releaseipconfig /renewnetsh winsock reset
Restart Your PC
Repeat Commands (With 5-Second Delay)
Open Command Prompt (Admin) again and enter:
arp -dnetsh interface IP delete arpcache
Restart Your PC Again
Step 3: Restart Your Router
Unplug your router, wait 30 seconds, and plug it back in.
Step 4: Install and Configure a VPN
https://windscribe.com/install/desktop/windows
Download and Install Windscribe
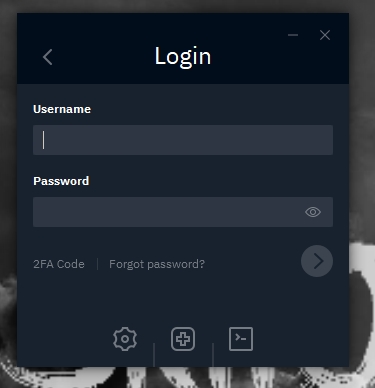
Use your credentials created after buying windscribe.
Login to Windscribe
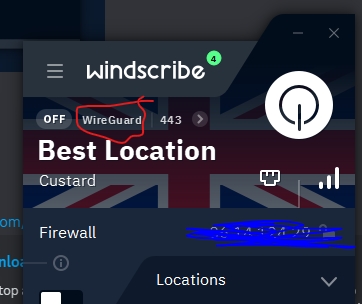
Navigate to the WireGuard section.
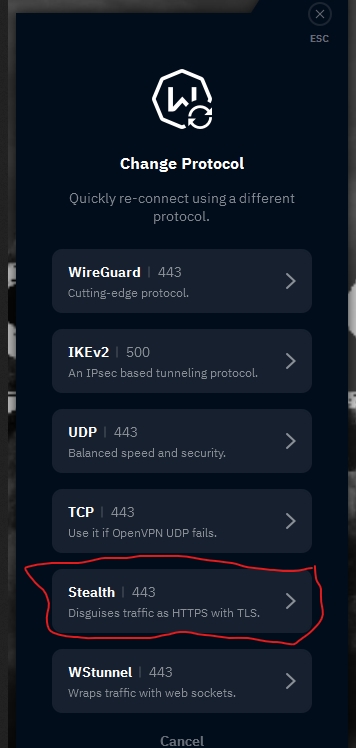
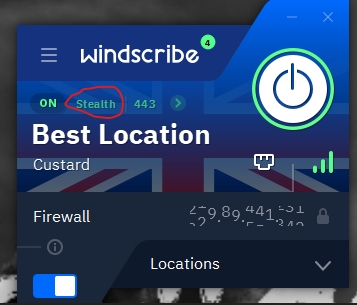
Select Stealth Mode.
VPN Usage
Use the VPN for 14 days after spoofing.
After 14 days, you can disable the VPN and play as usual.
IMPORTANT: These steps ensure optimal performance and minimize detection risks. Always follow them carefully!
Last updated